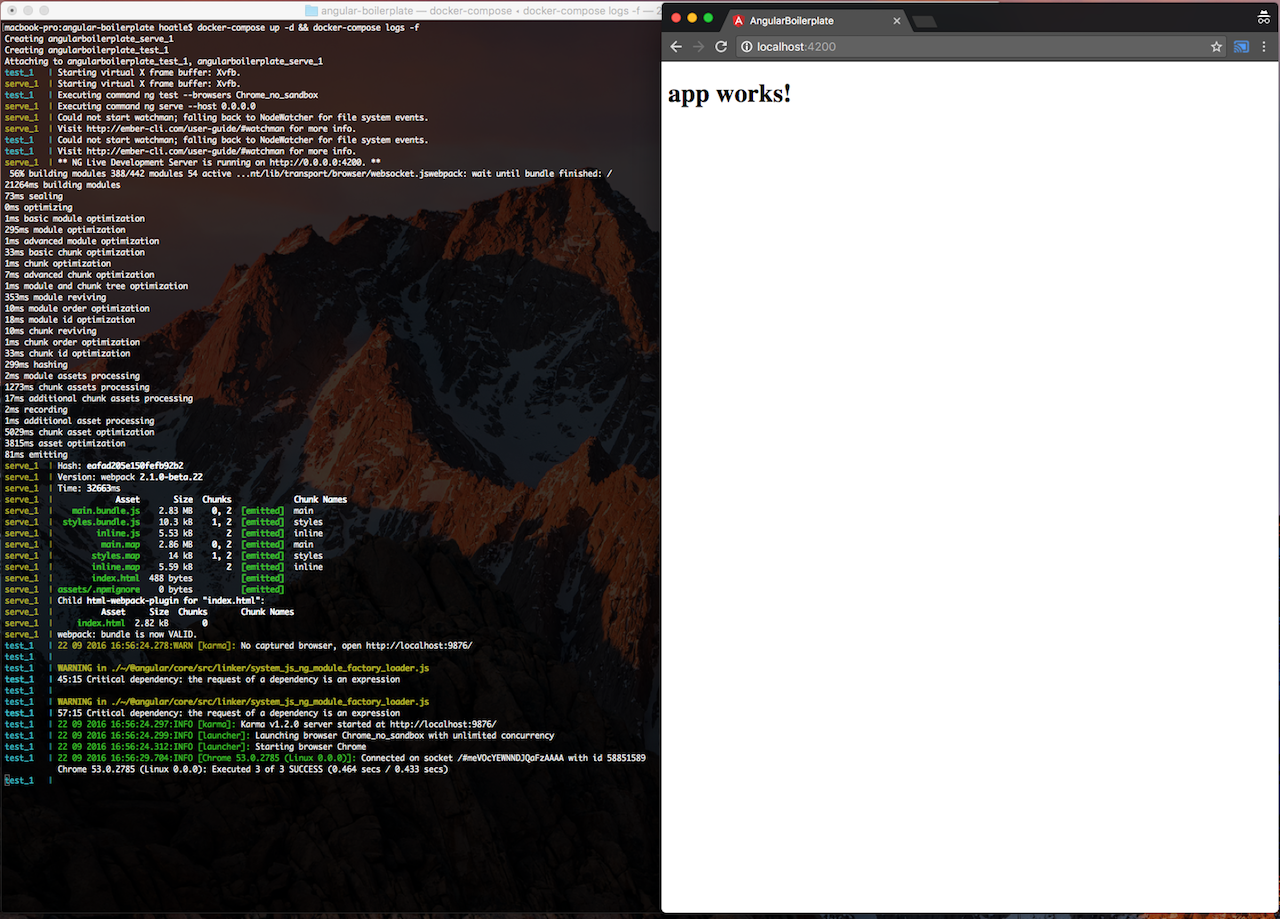
Note:
This post is outdated, please follow the How to develop Angular 2+ applications easily with Docker, angular-cli and angular-boilerplate blog post instead.
Everyone who is new to Angular 2 usually has many difficulties to get started with it, even with the
getting started article from the Angular 2 official documentation. That’s the reason why
angular-cli is created to ease the pain. angular-cli is a great CLI
tool, however, it takes a lot of time to get it working by installing nodejs and angular-cli.
Luckily, we’ve created docker-angular-cli project
to build a Docker image so that anyone could use it right away for any Angular 2 projects without the
hassle of installing nodejs and angular-cli. This guide will help you get started in the most
easily and convenient way. It’s assumed that you don’t need to master Docker but only require that
Docker is installed on your machine and you could follow the instructions below.
0. Prerequisites
You must set up
dockeranddocker-composeeasily withteracy-devfirst: teracy-dev – the only truly universal productive development platform with Docker on macOS, Linux and Windows!After
teracy-devis set up, you already havedockeranddocker-composeinstalled.docker-angular-cliis tested withDockerv1.12.1 anddocker-composev1.8.0 with the native app on Mac and on Ubuntu. It should work well on Windows, too.
1. Init a new project
First, to init a new Angular 2 project, follow:
1 2 3 | |
After that, you should be presented with bash console for the docker container. Use ng init to
init a new project.
1
| |
You should see the <project-name> yourself. By default, the style file is css. I recommend using
scss extension for style files.
2. Add Dockerfile and docker-compose.yml file
Add Dockerfile and docker-compose.yml as I did with https://github.com/teracyhq/angular-boilerplate/commit/082a879c5df3fa0ae6ddc000d84512754b62a642
3. Note for angular-boilerplate
For easier setup with best practices, you can combine the 2 steps above (1 + 2) with:
1
| |
More useful stuff will come to angular-boilerplate later such as CI, CD, production deployment, server side rendering, desktop app and native apps, etc best practices.
4. Serve
To start serving the web app, follow:
1
| |
and then open http://localhost:4200 to see the web app.
5. Test
To run the unit test with Karma and Chrome, follow:
1
| |
and you should see the unit test running on Chrome browser pre-installed on the Docker image.
6. Exec commands
To exec some commands, for example:
for linting (code style checking):
1
| |
or for installing more npm packages:
1
| |
or for running unit tests:
1
| |
You can exec any commands on the running container.
7. Develop
Or if you want to open a new ssh session, open a new terminal window, and execute this:
1 2 | |
and then you should see something like:
1 2 3 | |
And now you can execute any commands you want.
That’s it. Now you should start developing Angular 2 applications more easily with docker-compose
and angular-cli by using docker-angular-cli.
You can follow the following tutorial to create a simple todo application: https://www.sitepoint.com/angular-2-tutorial/
8. Learn more
If you need any consultancy or outsourcing, don’t hesitate to contact us. We’re eager to build world class web applications for you!
Happy developing!